
Segmented dimming
Tutorial
intermediate
+10XP
45 mins
Unity Technologies
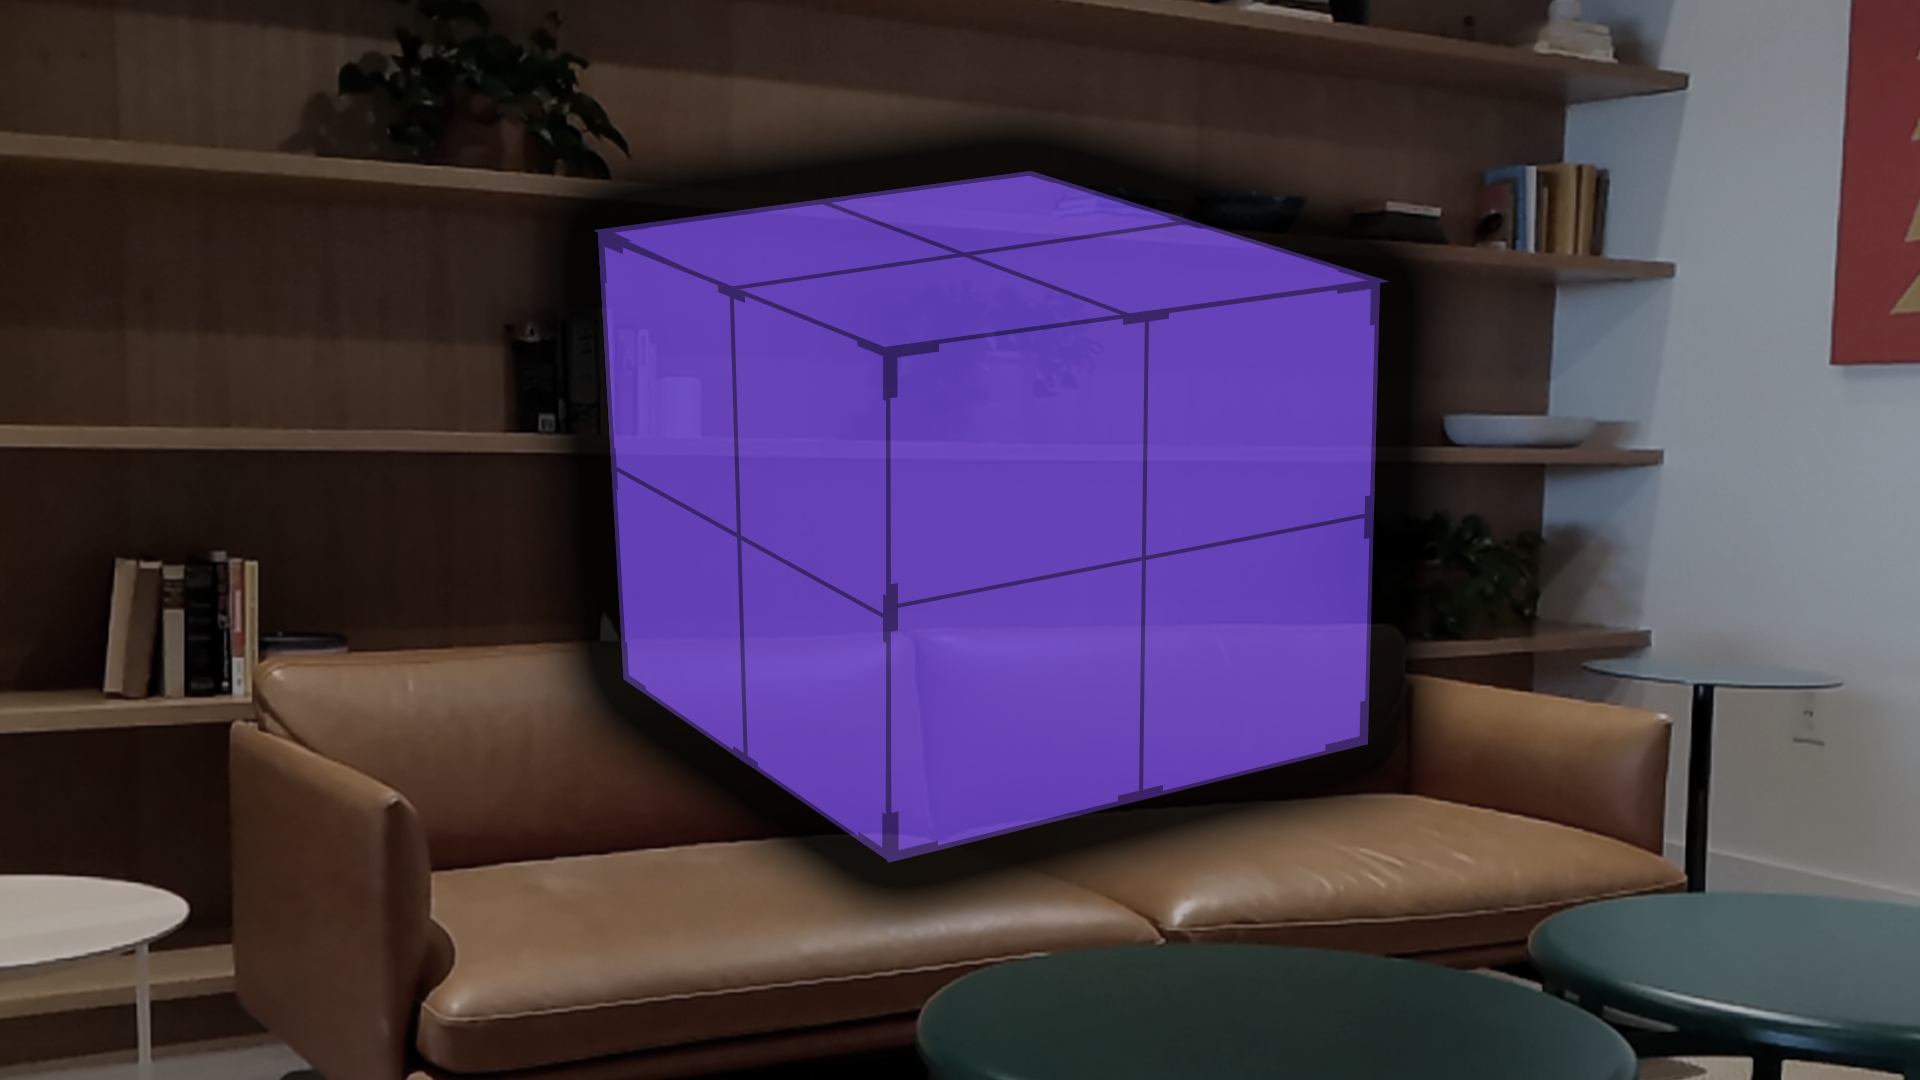
Segmented dimming is a feature of the Magic Leap 2 that applies a darkening tint behind specific digital content. Similar to a drop-shadow, this dimming improves the visual quality of a digital object by making it appear brighter or more opaque. Segmented dimming is a more specialized application of the same dimmer panel used with global dimming.
In this tutorial, you will learn how to implement segmented dimming on individual objects, including an example where segmented dimming is used on a mesh in a 3D model viewer.
1. Overview
What is segmented dimming?
Similar to global dimming, segmented dimming applies a darkening tint on top of the real-world environment but behind digital content that you specify. The result is an additive experience: you will be able to see the real world around you fully unobstructed, and the digital content of your application will appear overlaid onto your real-world environment. Like global dimming, you are able to control the opacity of the dimming effect, ranging from subtle and semi-translucent to fully opaque.
Why include segmented dimming?
Segmented dimming is ideal for applications where the user needs to see their environment around them in addition to digital content. This can include experiences such as learning and training, where an instructional video might play while the user follows along, work support applications that can list current inventory for floor samples when a worker scans a QR code, or real-world collaborative work where you need to interact with people around you as well as the digital content.
What you’ll learn in this tutorial
In this tutorial, you’ll learn how to implement and control segmented dimming on a 3D object in a Universal Render Pipeline (URP) project.
You will also explore an example project where segmented dimming is used on a mesh in a 3D model viewer.
Note: The above video capture is not a true reflection of the appearance of the dimming mask on the Magic Leap 2. On the device, the edges of the mask are gradually feathered, whereas the video capture records the mask edges as being very sharp.
2. Before you begin
Before you begin working through this tutorial, you should make sure your development environment is set up for Magic Leap 2 development and download the example prototype project.
Set up your development environment
If this is your first time developing in Unity for the Magic Leap 2, make sure you have your development environment configured properly using one of the following guided options:
- Follow the Unity: Getting started guide from the Magic Leap 2 developer documentation.
- Follow the Magic Leap 2 in-Editor tutorial project in the Unity Editor.
Download and open the example prototype
This tutorial will guide you through the implementation of this feature in your own application using an example prototype. If you want to explore the code of the prototype yourself, download the accompanying prototype project and open it in Unity.
3. Basic segmented dimming setup
The segmented dimmer is enabled via a Renderer Feature that must be added to your URP asset. In conjunction with a custom layer, any object with a specialized material applied (included in the Magic Leap 2 package) will have segmented dimming.
Enable segmented dimming on the device
In order to see the segmented dimming effects in your application, segmented dimming must be enabled on your Magic Leap 2. To enable segmented dimming on your Magic Leap 2, switch on the headset, then go to Settings > Display > Segmented dimming.
Add an XR Rig to the Unity scene
Just like with any Magic Leap 2 project, the first step is to add the XR Rig prefab to the scene from the Magic Leap SDK package (Packages > Magic Leap SDK > Runtime > Tools > Prefabs) and then delete the Main Camera GameObject.
Enable segmented dimming in a script
In order to enable segmented dimming in your scene, all you need is a single line of code in a new or existing script that enables segmented dimming. Add this script to an object in your scene now.
using UnityEngine;
using UnityEngine.XR.MagicLeap;

public class SegmentedDimming : MonoBehaviour
{
    void Start()
    {
        MLSegmentedDimmer.Activate();
    }
}
Configure your URP renderer asset
It is possible to simply apply segmented dimming to all digital content in the scene. You can set this up by following the simple use case for segmented dimming outlined in Magic Leap’s documentation.
However, if you want to be able to control which content gets segmented dimming, follow the instructions outlined in Magic Leap’s documentation on the Segmented Dimming Advanced Use case. At a high level, these are the required steps:
1. Create a new SegmentedDimmer layer.
2. Remove the SegmentedDimmer layer from the default opaque and transparent renderers.
3. Add the Segmented Dimmer renderer feature to the URP asset.
4. Configure the renderer feature by adding the SegmentedDimmer layer to the layer mask.
5. Assign the Render Pipeline asset in Graphics and Quality settings.
Now, content on the custom SegmentedDimmer will not be rendered by default but will instead be handled by the custom Segmented Dimmer renderer feature.
Create segmented dimming masks
Any mesh or UI component that you wish to have segmented dimming must have an associated mask object. Generally, this object should be about the same size and shape as the object to be dimmed and often can simply be a duplicated copy of your target object.
Follow the detailed instructions on how to set up a mask object in Magic Leap’s segmented dimming scene setup documentation. In this example, we used a few different cubes and duplicated them to create the mask GameObjects of varying relative scales and set them as child GameObjects of the original cubes.
Mask GameObjects should occupy the exact same position and orientation as the target GameObject in the Unity scene. If desired, you can adjust the mask scale to create different dimmer effects. A slightly smaller mask will mean that the edges of the mesh will be more translucent than the center, while a slightly larger mask will produce an opaque halo around the dimmed object.
Check out the demo below for an example of how changing scales effects objects. The leftmost mask has its scale set to 0, so you can still see through it. The second mask is the same scale as the original cube, making it appear opaque. The third cube’s mask has a slightly larger scale than its parent, and the final cube’s mask is 50% larger. We also applied a random rotation on start to better appreciate the effect of the dimming masks.
Control segmented dimming opacity in a script
You can easily control the segmented dimmer via script, including dynamically setting the opacity of the mask itself.
using UnityEngine;
using UnityEngine.XR.MagicLeap;

public class SegmentedDimming : MonoBehaviour
{
    // object with SegmentedDimmer material applied
    public GameObject segmentedDimmingObject;

    void Start()
    {
        MLSegmentedDimmer.Activate();
    }

    // method to set opacity, takes a float value between 0-1
    public void SetSegmentedDimmingOpacity(float DimmingValue)
    {
        segmentedDimmingObject.GetComponent<MeshRenderer>().material.SetFloat("_DimmingValue", DimmingValue);
    }

    // method to enable or disable the mask GameObject, takes a bool value
    public void ActivateSegmentedDimming(bool active)
    {
        segmentedDimmingObject.SetActive(active);
    }
}
In the example below, SetSegmentedDimmingOpacity is called by a slider and ActivateSegmentedDimming is called with a toggle, but you can call these methods from any interaction that you want to set.
4. Segmented dimming in context
Now that you know how to set up segmented dimming, let’s check out an example of how this feature can be combined with other interactive functionality.
In this example, the user is using a 3D model viewer. The user’s environment should be completely visible to them at all times, and the mesh should appear as if it is part of the environment. A marker is used to instantiate the 3D model, which has segmented dimming applied by default.
5. Next steps and additional resources
In this tutorial, you learned about working with segmented dimming on the Magic Leap 2. You can learn more about them with the following resources:
- Magic Leap’s sample project, which includes a scene demo with segmented dimming.
- Magic Leap’s guide on segmented dimming.
- Magic Leap’s dimming design guidelines.
You may also want to learn more about out the other features highlighted in the example prototype:
Otherwise, feel free to go back to the overview page, where you can explore other tutorials and resources.