
Welcome to Magic Leap 2 Development
Tutorial
intermediate
+10XP
45 mins
116
Unity Technologies
The Magic Leap 2 is an immersive augmented reality (AR) headset built for enterprise solutions. The device allows you to seamlessly blend the physical world with the digital world to create immersive experiences. The Magic Leap 2 is used across multiple industries for training, collaboration, remote support, visualization, creativity, and more.
In this course, you will learn the fundamentals of creating applications using the Magic Leap 2.
1. Course overview
The Magic Leap 2 is an immersive augmented reality (AR) headset built for enterprise solutions. The device allows you to seamlessly blend digital and physical worlds, creating immersive experiences. The Magic Leap 2 is used across multiple industries for training, collaboration, remote support, visualization, creativity, and more.
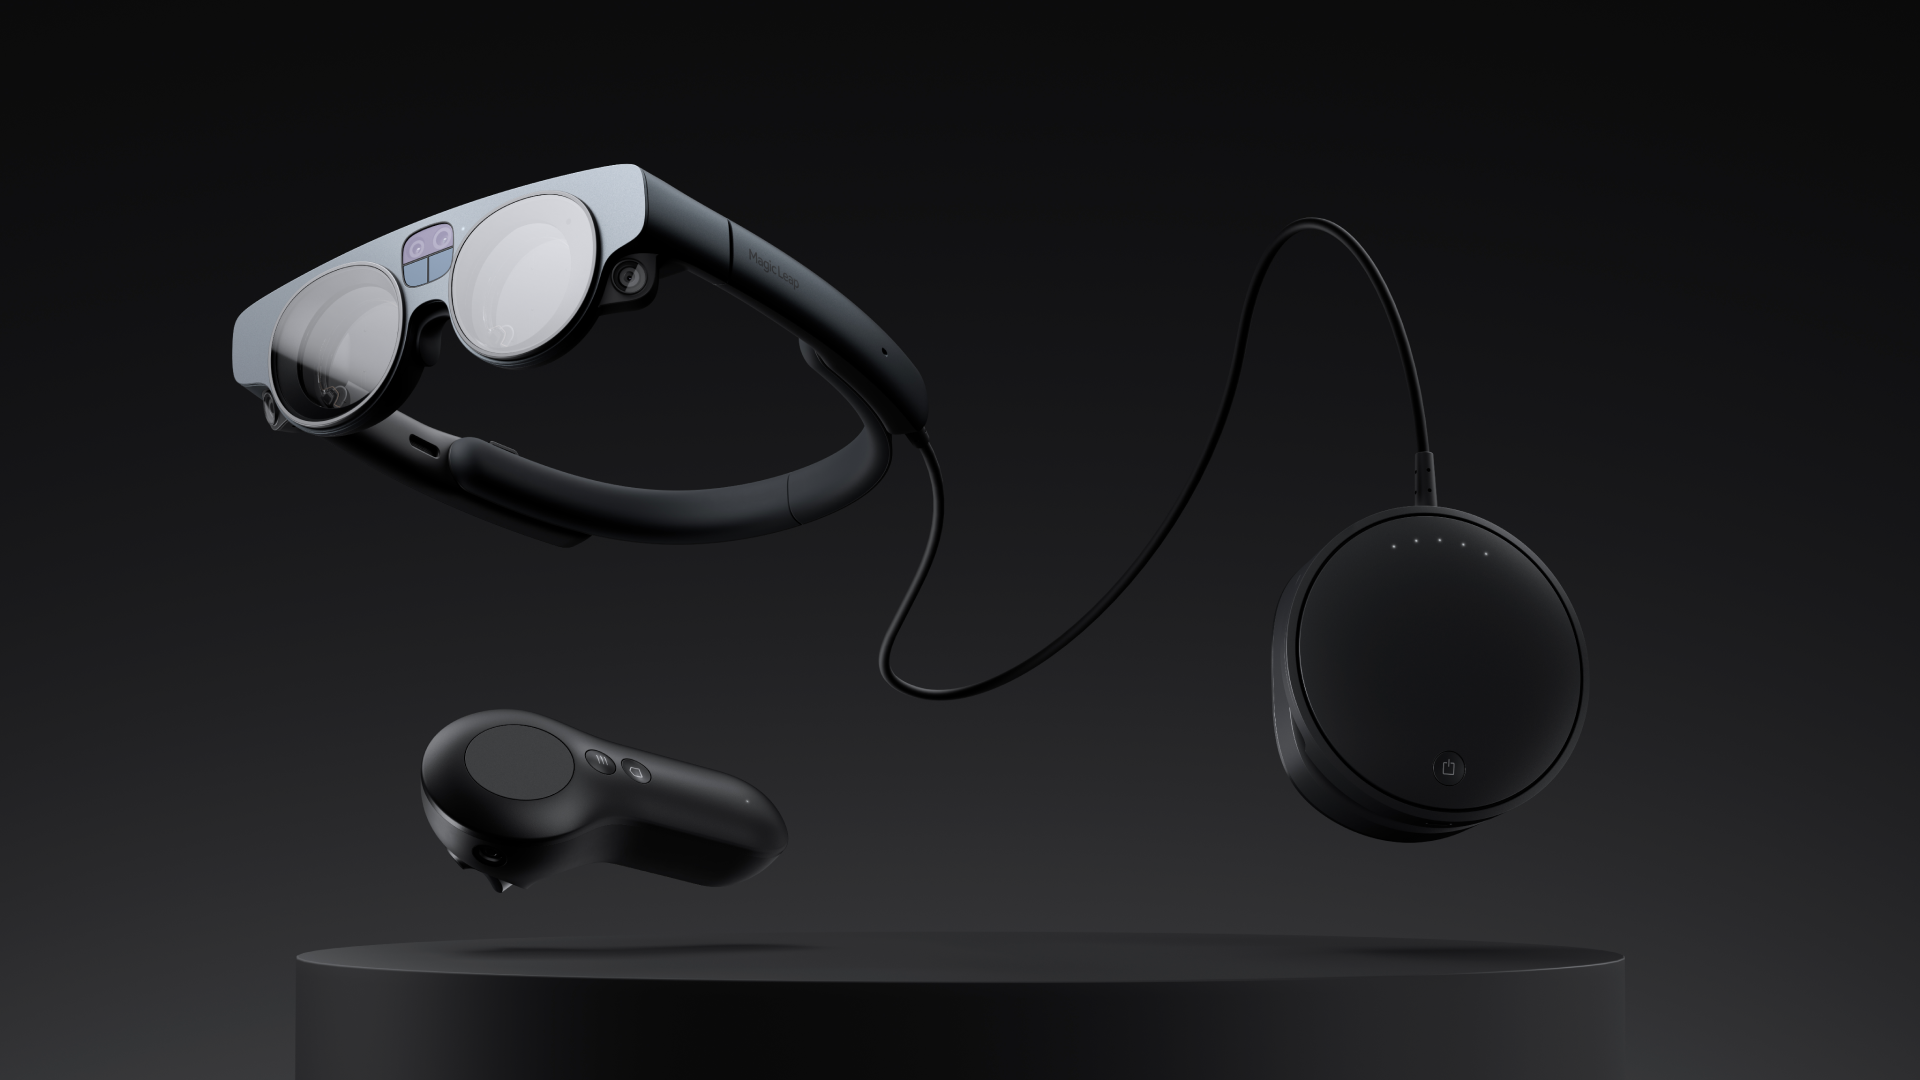
In this course, you will learn the fundamentals of creating applications using the Magic Leap 2.
2. Course structure
The course is made up of a series of standalone tutorials, each covering a different topic related to developing for the Magic Leap 2. First, you will get your hardware and software set up for development, but after that, you can explore the tutorials in whichever order you like.
Here’s a list of the tutorials included in this series:
- Controller input: respond to button presses, touch pad inputs, and gestures.
- Voice commands: respond to custom spoken phrases.
- Media player: play video from various sources on a custom player.
- Plane detection: detect and interact with flat surfaces in the environment.
- Global dimming: add a darkening tint over all real-world content to better highlight digital content.
- Segmented dimming: add a darkening mask behind specific digital content to make it easier to see.
- Marker tracking: recognize and track different types of image markers.
- Spatial audio: increase immersion using Magic Leap 2’s custom audio spatializer plugin.
- Hand tracking: respond to hand gestures to interact with digital content without a controller.
- Meshing and occlusion: create a digital representation of the physical environment so that digital objects can interact with and hide behind physical objects.
- Eye tracking: respond to the user’s fixation point to create more immersive experiences.
- Spatial anchors: tie digital content to specific points in localized physical spaces.
For a very quick preview of each of these features used in isolation, watch the following video.
In each tutorial, you will learn how to set up the feature from scratch, and also shown an example of how these features might commonly be used in conjunction with other features.
3. Example projects included in the course
In addition to the tutorials for each of the individual features, we have provided a Unity project that incorporates all of the functionality together. You should use this project as a reference as you explore the tutorials.
Prototype scenes
For simplicity, we have also split up this demo project into three smaller prototype scenes that group the functionality together in logical ways:
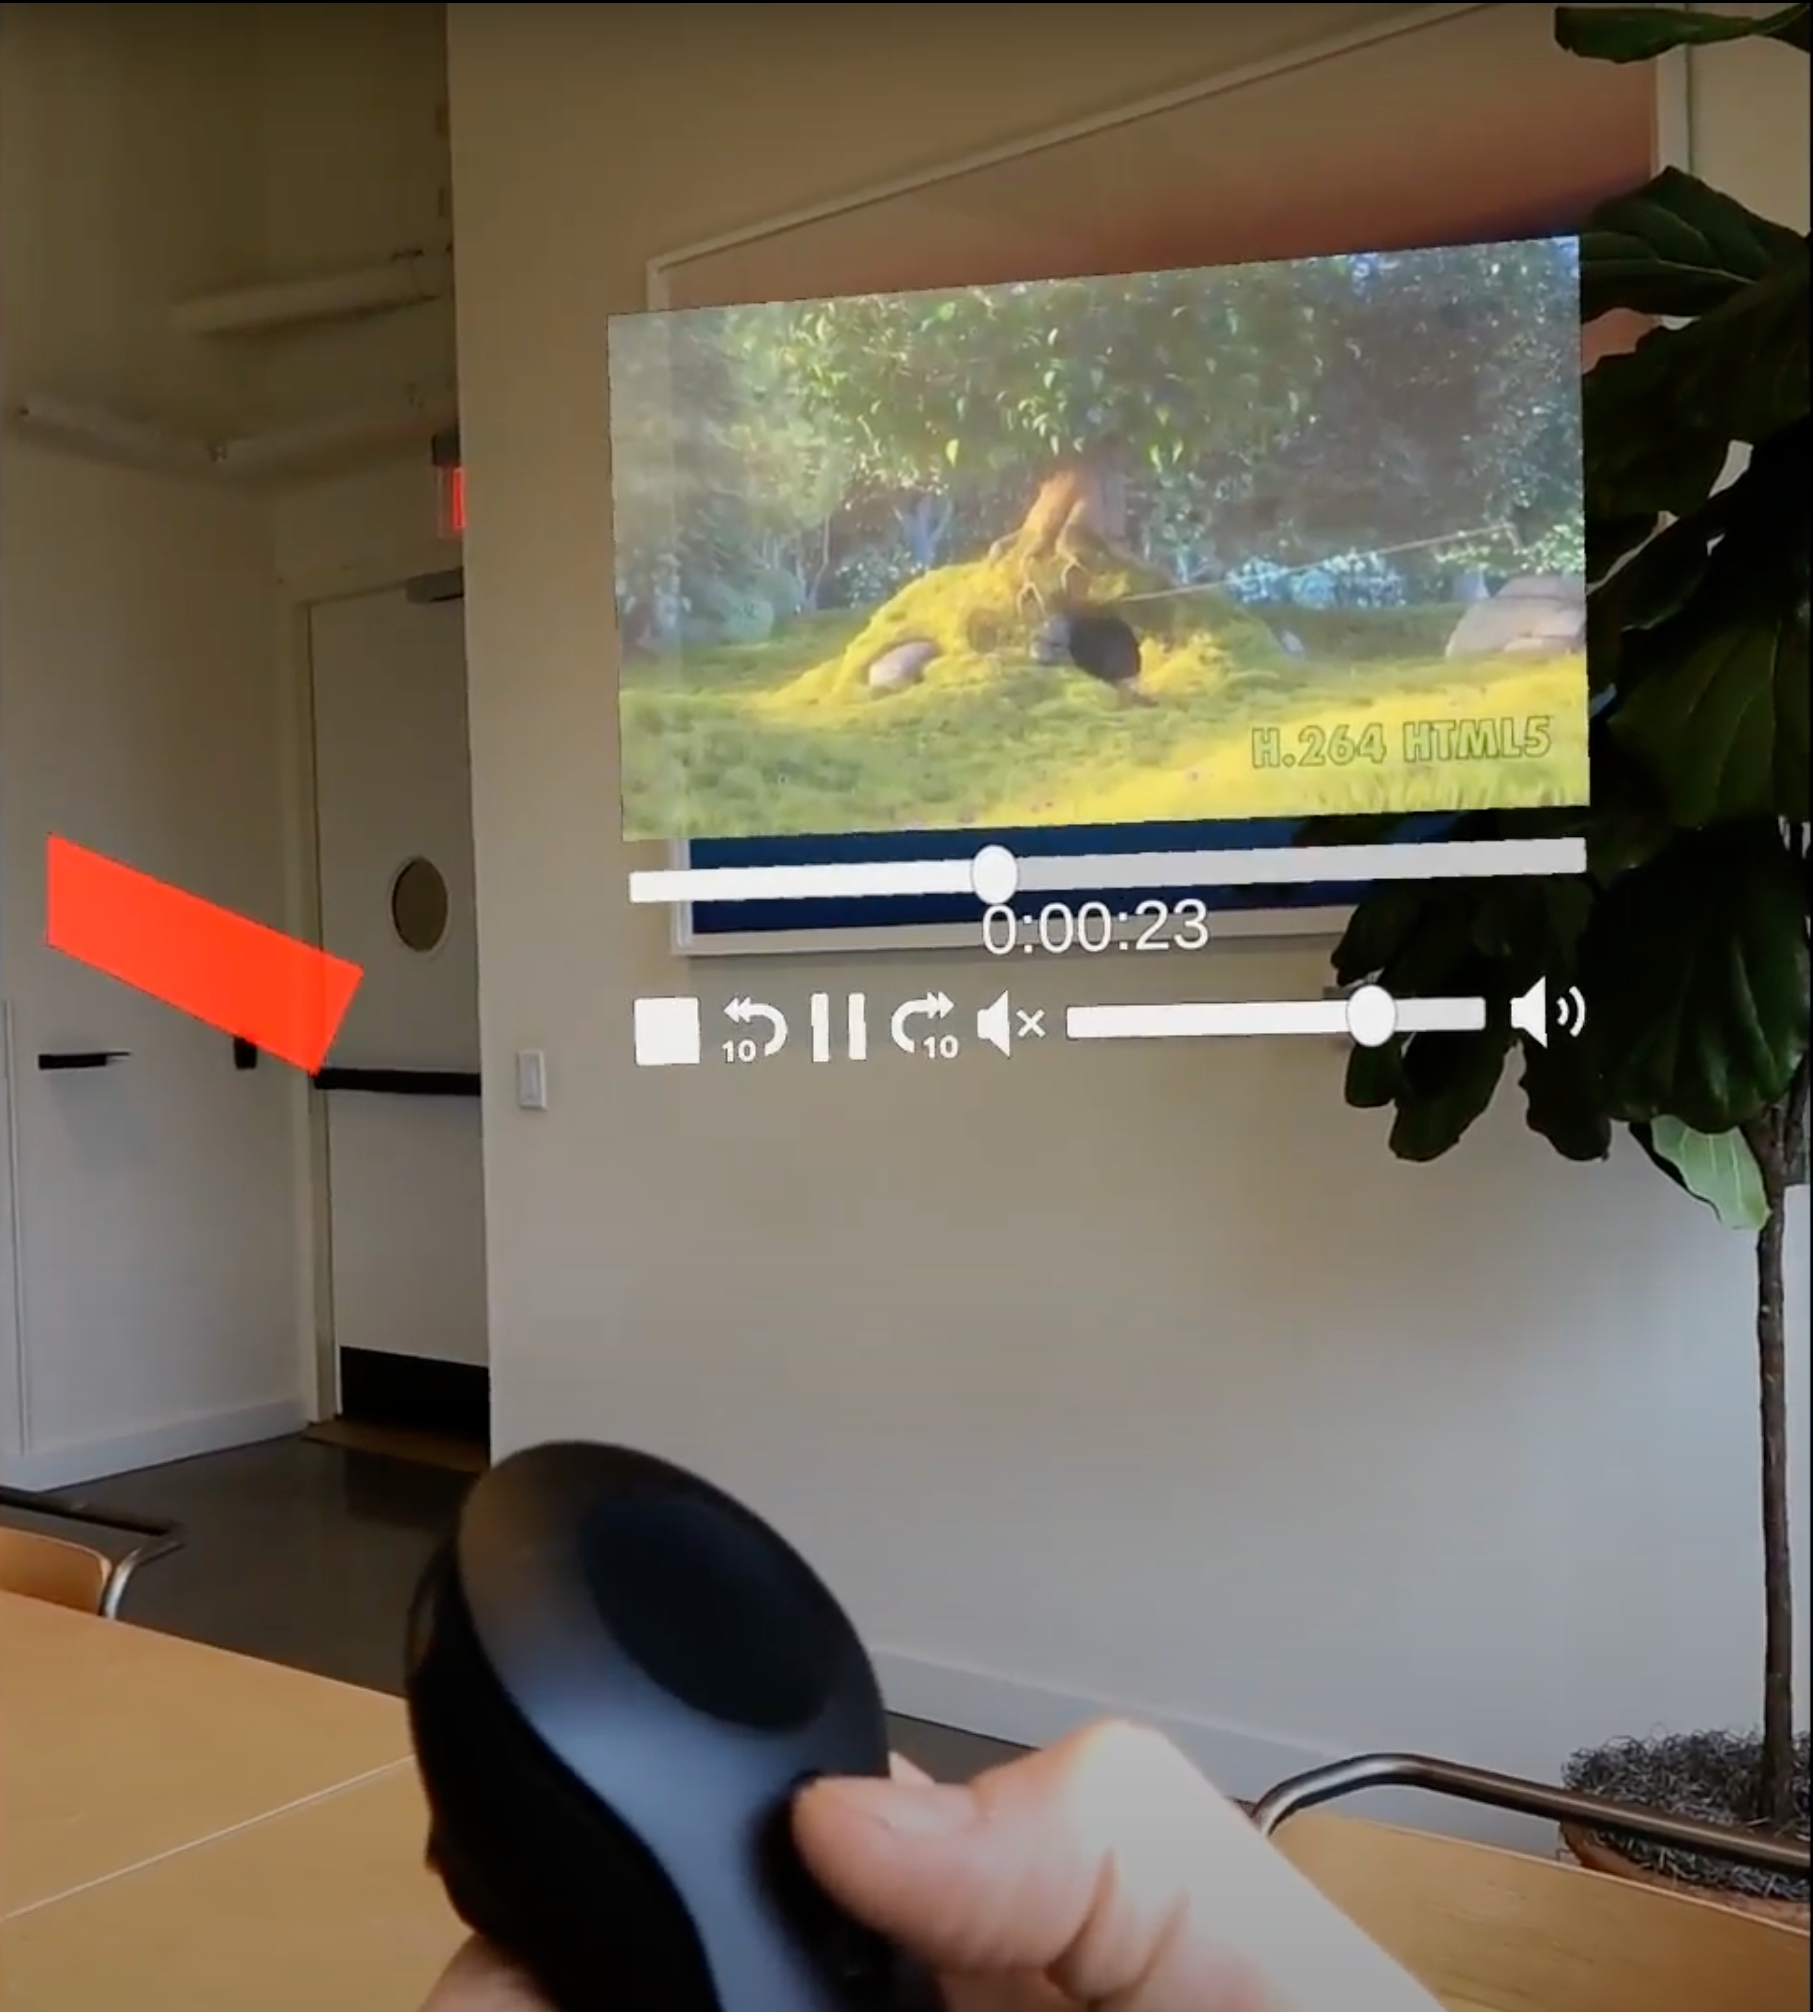
Prototype 1: Wall-mounted video player
The user can mount a media player on the wall and activate dimming, all of which can be managed by controller or voice input.
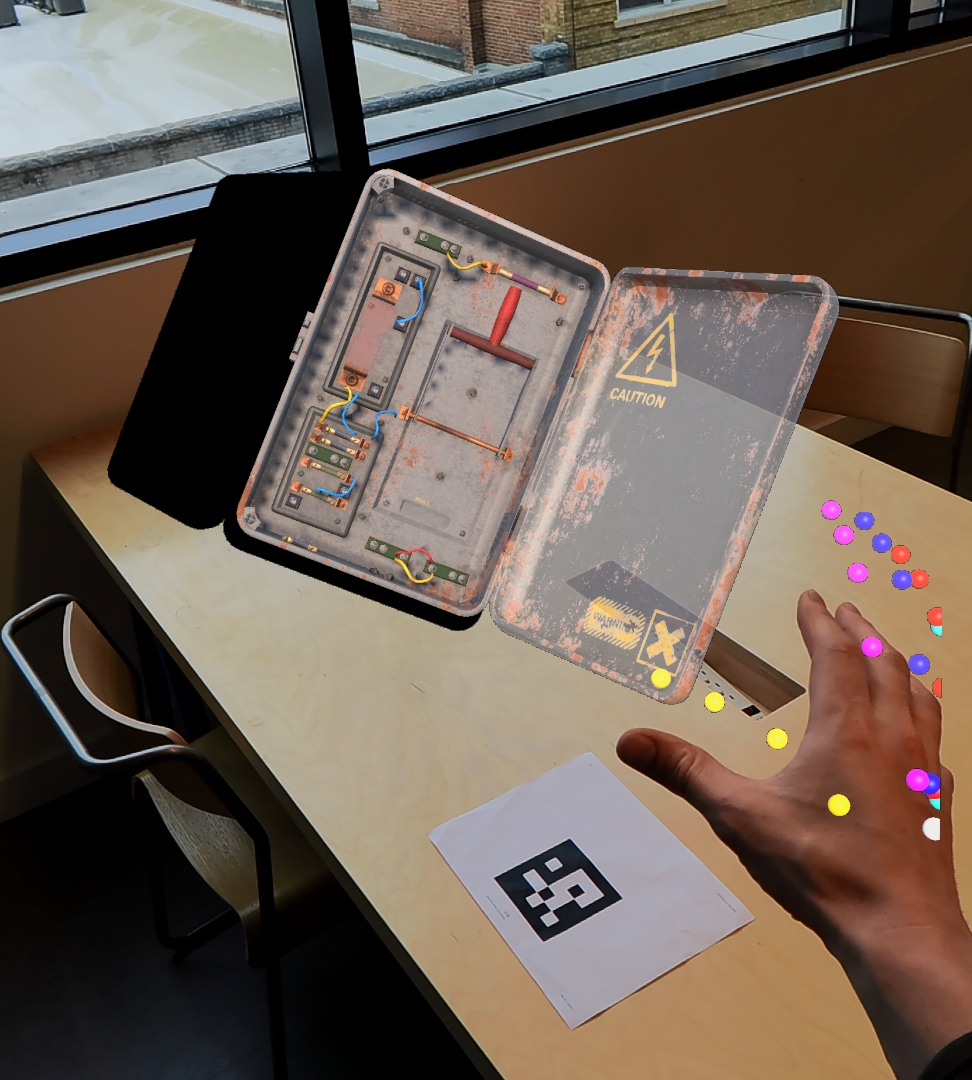
Prototype 2: 3D model viewer
When a marker is recognized, a 3D model appears with segmented dimming and spatial audio applied. The user can interact with the object using their hands.
Prototype 3: Sticky note saver
The user can place sticky notes on any surface of a frequently used space. Eye tracking is used to highlight any note the user looks at.
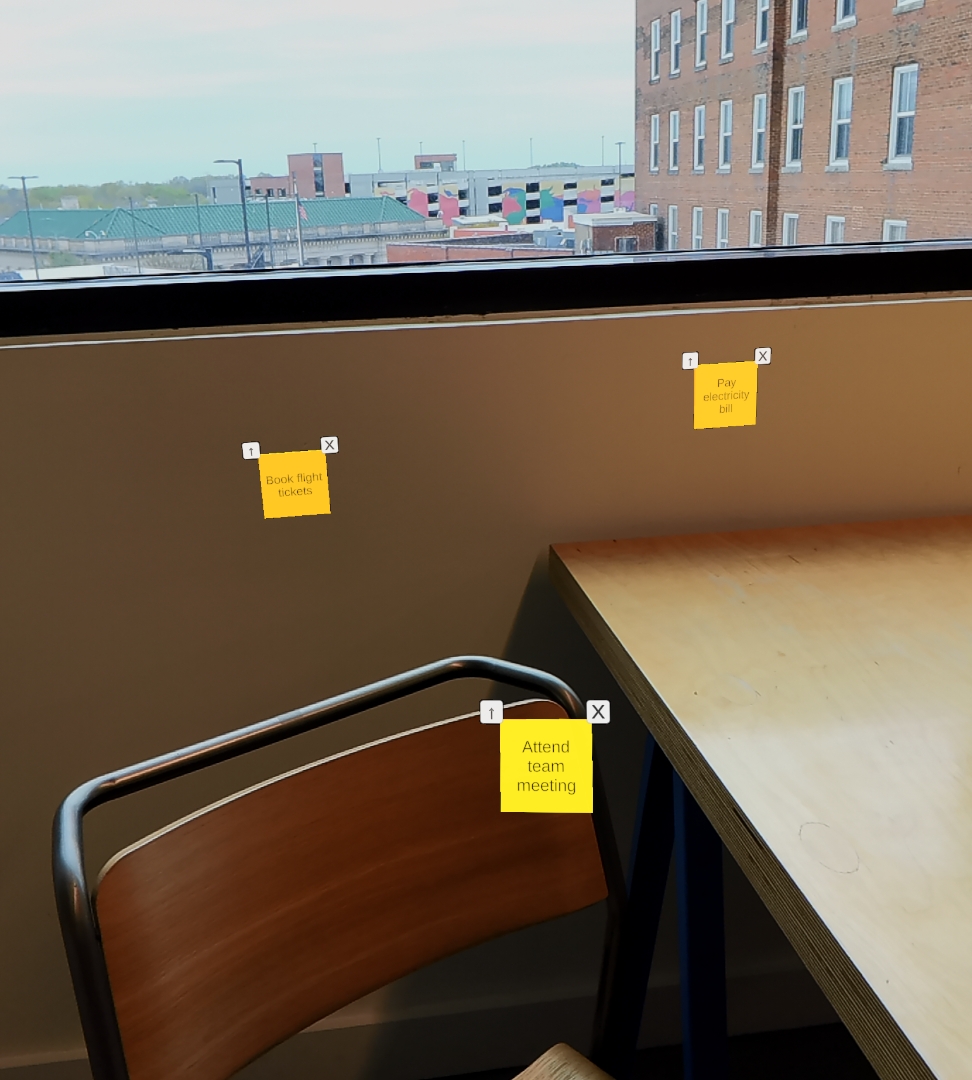
Complete demo scene
Here’s a video walkthrough of the full demo project, where you can see each of the features used in a more realistic application. In this video, you‘ll see examples of the media player, dimming, marker detection, a web browser, plane and mesh detection, and controller input.
4. Who is this course for
This course is designed for anyone interested in creating immersive and interactive experiences using the Magic Leap 2 device. This course assumes a baseline knowledge of how to use Unity and at least a beginner’s understanding of programming in C#.
If you don’t have a Magic Leap 2, don’t worry! You will still be able to test many features of the project in Application Simulator.
5. Next steps
You now have a good understanding of what this course is and how you can use it to develop applications for the Magic Leap 2.
In the next tutorial, you will download and follow a guided in-editor tutorial to do the following:
- Download and set up the Magic Leap Hub and Magic Leap 2 SDK
- Set up the Unity Editor for Magic Leap 2 application development
- Create your first Magic Leap 2 application
- Use Application Simulator to quickly test changes
After you have completed that, you can choose any feature that interests you and implement it into your application.