
Plane detection
Tutorial
intermediate
+10XP
30 mins
(9)
Unity Technologies
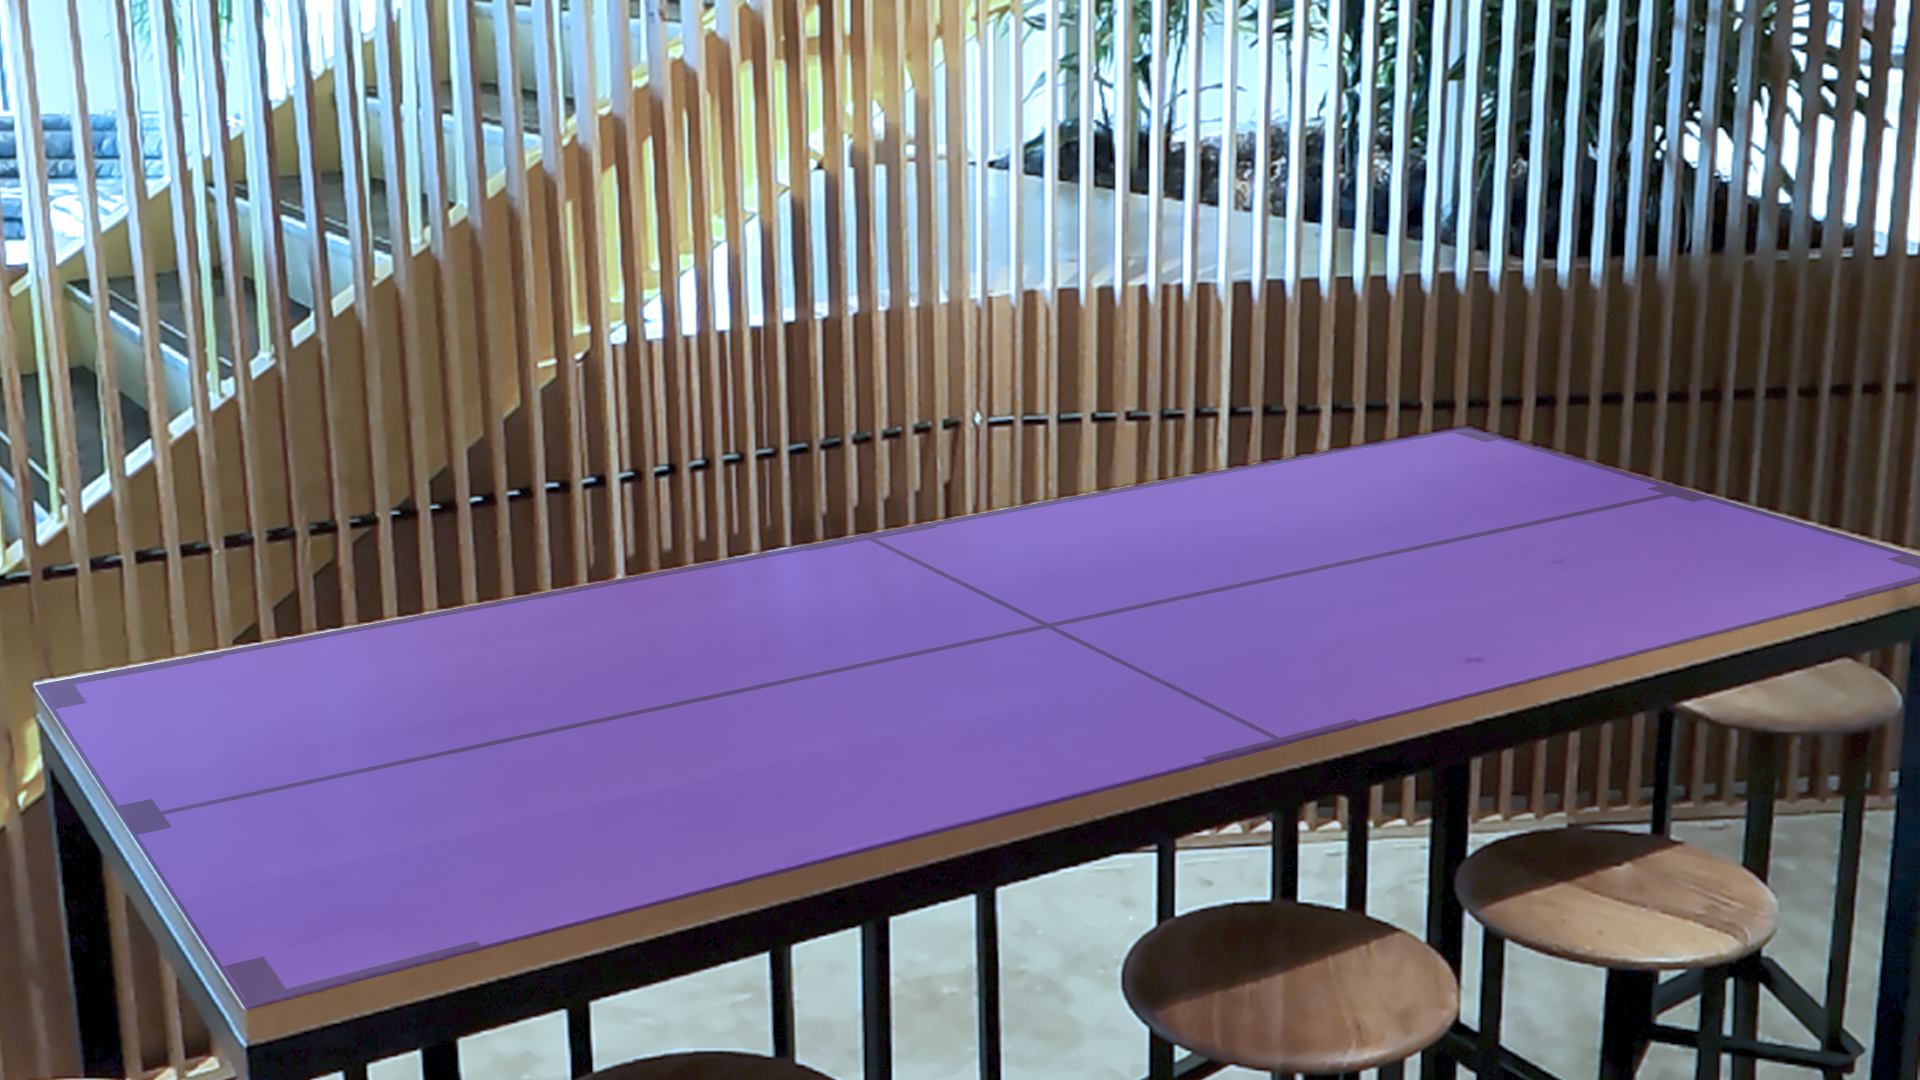
Plane detection is the process of locating flat (or planar) surfaces in the environment around you. Typically, this includes horizontal surfaces like the floor or a table and vertical surfaces like walls.
In this article, you will learn how plane detection is implemented in a Magic Leap application, including an example of a typical use case, where the user can place objects flat on a surface.
1. Overview
What is plane detection?
Plane detection is the process of locating flat (or planar) surfaces in the environment around you. Typically, this includes horizontal surfaces like the floor or a table and vertical surfaces like walls.
You can use plane detection to build an approximate understanding of your surrounding physical environment in augmented reality (AR) and mixed reality (MR). Plane detection is very useful in MR applications because users are often asked to place objects on real surfaces in their environment to make those objects feel like they are really there.
What you’ll learn in this article
In this article, you will learn how plane detection is implemented in a Magic Leap application, including an example of a typical use case, where the user can place objects flat against a surface.
2. Before you begin
Before you begin working through this tutorial, you should make sure your development environment is set up for Magic Leap 2 development and download the example prototype project.
Set up your development environment
If this is your first time developing in Unity for the Magic Leap 2, make sure you have your development environment configured properly using one of the following guided options:
- Follow the Unity: Getting started guide from the Magic Leap 2 developer documentation.
- Follow the Magic Leap 2 in-Editor tutorial project in the Unity Editor.
Download and open the example prototype
This tutorial will guide you through the implementation of this feature in your own application using an example prototype. If you want to explore the code of the prototype yourself, download the accompanying prototype project and open it in Unity.
3. Basic plane detection setup
You only need one new component to get basic plane detection set up in your scene: the AR Plane Manager.
After you add the XR Rig prefab to the scene from the Magic Leap SDK package (Packages > Magic Leap SDK > Runtime > Tools > Prefabs), add the AR Plane Manager component to the Session Origin GameObject.
To be able to actually visualize the planes in your environment, you need to also assign a default Plane prefab and customize the plane material to your liking.
You can now test your app in Application Simulator and visualize any detected planes:
However, plane detection will not work on the device itself yet because plane detection requires specific permissions.
4. Handle permissions
Which permissions are required?
Plane detection requires the user to explicitly grant permission for spatial mapping at runtime since plane detection is one of the device’s Dangerous (Runtime) permissions. The spatial mapping permission is required for both plane detection and object meshing on the device. Both of these features map the user’s spatial environment, and without this permission granted, those features will not work.
To determine which permission is required for which feature, you can refer to the documentation on the Magic Leap 2 Developer Portal.
Request and respond to permissions
Trying to run plane detection on a Magic Leap 2 before a user has explicitly granted spatial mapping permission will crash the application.
To avoid this crash, you can disable the plane manager by default until you have successfully requested and been granted the required permissions.
The code below performs the following actions:
- Subscribes and unsubscribes from the permission events.
- Requests permission for spatial mapping at start.
- If permission for spatial mapping is granted, the plane manager is enabled.
- If permission is denied, the plane manager is disabled and an error is logged.
using UnityEngine;
using UnityEngine.XR.MagicLeap;
using UnityEngine.XR.ARFoundation;

public class PlaneDetection : MonoBehaviour
{

 private ARPlaneManager planeManager;
 private readonly MLPermissions.Callbacks permissionCallbacks = new MLPermissions.Callbacks();

 private void Awake()
    {
 // subscribe to permission events
        permissionCallbacks.OnPermissionGranted += PermissionCallbacks_OnPermissionGranted;
        permissionCallbacks.OnPermissionDenied += PermissionCallbacks_OnPermissionDenied;
        permissionCallbacks.OnPermissionDeniedAndDontAskAgain += PermissionCallbacks_OnPermissionDenied;

    }

 private void OnDestroy()
    {
 // unsubscribe from permission events
        permissionCallbacks.OnPermissionGranted -= PermissionCallbacks_OnPermissionGranted;
        permissionCallbacks.OnPermissionDenied -= PermissionCallbacks_OnPermissionDenied;
        permissionCallbacks.OnPermissionDeniedAndDontAskAgain -= PermissionCallbacks_OnPermissionDenied;
    }

 private void Start()
    {
 // make sure the plane manager is disabled at the start of the scene before permissions are granted
        planeManager = FindObjectOfType<ARPlaneManager>();
 if (planeManager == null)
        {
            Debug.LogError("Failed to find ARPlaneManager in scene. Disabling Script");
            enabled = false;
        }
 else
        {
            planeManager.enabled = false;
        }

 // request spatial mapping permission for plane detection
        MLPermissions.RequestPermission(MLPermission.SpatialMapping, permissionCallbacks);
    }

 // if permission denied, disable plane manager
 private void PermissionCallbacks_OnPermissionDenied(string permission)
    {
        Debug.LogError($"Failed to create Planes Subsystem due to missing or denied {MLPermission.SpatialMapping} permission. Please add to manifest. Disabling script.");
        planeManager.enabled = false;
    }

 // if permission granted, enable plane manager
 private void PermissionCallbacks_OnPermissionGranted(string permission)
    {
 if (permission == MLPermission.SpatialMapping)
        {
            planeManager.enabled = true;
            Debug.Log("Plane manager is active");
        }
    }
}
Demo
With the permission code above included in your project, the application should request permission for spatial mapping on startup. Then, with the required permissions granted and the AR Plane Manager enabled, basic plane detection should function on your device.
5. Plane configuration options
Define attributes
There are a number of public attributes that allow you to customize the plane detection behavior, which are described in the PlanesQuery scripting documentation.
You can define the position, rotation, and extents of the bounding box where planes are detected. You can also define the maximum number of planes in a space as well as the properties of individual planes, such as the minimum plane area. The code below demonstrates how you might do that.
private void Update()
{
 if (planeManager.enabled)
    {
        PlanesSubsystem.Extensions.Query = new PlanesSubsystem.Extensions.PlanesQuery
        {
            BoundsCenter = Camera.main.transform.position,
            BoundsRotation = Camera.main.transform.rotation,
            BoundsExtents = Vector3.one * 20f,
            MaxResults = 100,
            MinPlaneArea = 0.25f
        };
    }
}
Add flags
There is an additional MLPlanesQueryFlags Enum that gives you more control over how planes behave. By default, AR Foundation’s AR Plane Manager only allows you to choose between vertical and horizontal planes. The Magic Leap plane detection has a few more options, which can be added as flags into the PlanesQuery, as in the example below.
PlanesSubsystem.Extensions.Query = new PlanesSubsystem.Extensions.PlanesQuery
{
    Flags = planeManager.requestedDetectionMode.ToMLQueryFlags() | PlanesSubsystem.Extensions.MLPlanesQueryFlags.Polygons | PlanesSubsystem.Extensions.MLPlanesQueryFlags.Semantic_Wall,
};
Demo
To demonstrate these properties, the demo below has MaxResults set to 2 and MinPlaneArea set to 3, with a flag to only detect planes on the ceiling.
6. Simple plane detection setup
Detecting planes is not necessarily useful on its own – but there are many useful features and interactions you can develop once those planes are detected. Probably the most common interaction with planes is allowing users to place objects on detected surfaces, which requires ray casting from the controller’s position. In the example prototype, the user places a Magic Leap media player on the wall, but you can place any object.
Following the below instructions is not required in order to understand plane detection, but doing so will be helpful to better understand how plane detection can be integrated with additional functionality.
Set up required objects
To easily detect whether or not a ray cast hits a detected plane, follow these instructions:
1. Set the AR Default Plane prefab’s Layer to a custom layer named “Planes”.
2. Create a quad GameObject that will serve as an indicator of where your object will be placed on the wall, and name the GameObject something like “TargetIndicator”.
3. Create another GameObject that will actually get placed on the wall when a controller button is pressed, and name the GameObject something like “TargetObject”.
4. Declare new public GameObject variables for both TargetIndicator and TargetObject in your script, set them as inactive by default in Start, and assign them in the Inspector.
// wall placement objects
public GameObject targetIndicator;
public GameObject targetObject;

private void Start()
{
 // set wall objects as inactive
    targetIndicator.SetActive(false);
    targetObject.SetActive(false);
}
Get access to the Magic Leap 2 controller
In order to set up a ray cast, you need to enable the Magic Leap Inputs and get access to the Magic Leap 2 controller. You can do that by adding the following to your script:
// inputs
private MagicLeapInputs magicLeapInputs;
private MagicLeapInputs.ControllerActions controllerActions;

private void Start()
{
    magicLeapInputs = new MagicLeapInputs();
    magicLeapInputs.Enable();
    controllerActions = new MagicLeapInputs.ControllerActions(magicLeapInputs);
}
Display the indicator with a ray cast
In Update, ray cast to objects on the Planes layer from the controller position and display the target indicator at the hit location.
private void Update()
{
 // raycast from the controller outward
    Ray raycastRay = new Ray(controllerActions.Position.ReadValue<Vector3>(), controllerActions.Rotation.ReadValue<Quaternion>() * Vector3.forward);

 // if ray hits an object on the Planes layer, position the indicator at the hit point and set it as active
 if (Physics.Raycast(raycastRay, out RaycastHit hitInfo, 100, LayerMask.GetMask("Planes")))
    {
        Debug.Log(hitInfo.transform);
        targetIndicator.transform.position = hitInfo.point;
        targetIndicator.transform.rotation = Quaternion.LookRotation(-hitInfo.normal);
        targetIndicator.gameObject.SetActive(true);
    }
}
The target indicator will now appear at the location the controller is pointing at on the plane.
Place an object with a button press
Finally, you can subscribe to the trigger controller input event, then activate the target object when the trigger is pressed.
private void Start()
{
    controllerActions.Trigger.performed += Trigger_performed;
}

private void Trigger_performed(UnityEngine.InputSystem.InputAction.CallbackContext obj)
{
    Debug.Log("Trigger pressed");

 if (targetIndicator.activeSelf)
    {
        isPlacing = false;
        targetObject.gameObject.SetActive(true);
        targetIndicator.SetActive(false);
        targetObject.transform.position = targetIndicator.transform.position;
        targetObject.transform.rotation = targetIndicator.transform.rotation;
    }
}
Now, when the trigger is pressed, the target object will be placed at the location of the indicator. This could theoretically be a media player or any other object you might want to put on detected planes in the environment.
7. Plane detection in context
Now that you know how to set up basic plane detection, let’s check out an example of how this feature can be combined with other interactive functionality.
In this example, the user can place a media player on the wall, then reposition it somewhere else if they choose. You can activate and deactivate global dimming using voice commands or with the menu button. You can also dynamically control the global dimming value with the touchpad.
8. Next steps and additional resources
In this tutorial, you learned about plane detection on the Magic Leap 2. You can learn more about plane detection with the following resources:
- Magic Leap’s plane detection example scene from the samples project
- Magic Leap’s guide on plane detection
- Magic Leap’s scripting documentation on planes
You may also want to learn more about out the other features highlighted in the example prototype:
Otherwise, feel free to go back to the overview page, where you can explore other tutorials and resources.