
Welcome to 2D Adventure Game: Robot Repair
Tutorial
Beginner
+0XP
15 mins
(408)
Unity Technologies
In this introductory tutorial, you’ll learn the following things:
- What this course is about
- Who this course is for
- How this course is structured
You’ll also have the opportunity to explore the example 2D adventure that we’ve created!
By the end of this tutorial, you’ll know whether the 2D Adventure Game: Robot Repair course is right for you and be ready to get started.
1. Overview
The world of 2D games is wide and full of opportunities, from classic arcade adventures to modern indie hits, 2D games continue to inspire players and creators around the world. We’ve designed this beginner course to guide you in your 2D development journey. Step by step, you’ll learn how to create your own 2D adventure game, with a choice of assets and options for customization along the way.
2. Before you begin
This course is designed for beginners, but it does require a basic familiarity with the Unity Editor and some coding concepts. If you haven’t completed these introductory courses yet, we recommend reviewing them first to make the most of this learning experience.
Review the Unity Editor basics
If you’re new to Unity, welcome!
Before you start, we recommend completing the Get Started with Unity in-Editor tutorial, which will guide you through the essentials of navigating in and using the Unity Editor. To learn how to access this tutorial directly in the Editor, check out the Get Started with Unity: In-Editor Tutorial tutorial.
Prerequisites
We encourage you to complete the following Learn courses before you start this one. They’ll give you the foundations you need to follow this course with ease:
- The Unity Essentials Pathway has been designed to be the perfect starting point to your Unity development journey.
- The 2D Beginner Game: Sprite Flight course is an excellent introduction to working in 2D in Unity.
3. The world of 2D games
2D games are an excellent starting point for beginners, as they offer creators a balance of flexibility, creativity, and simplicity. When developing a 2D game, there are two key aspects that differentiate the process from creating a 3D project in Unity:
- 2D graphics: You’ll use sprite assets to create the two-dimensional world of your game, and even use them to create animations to bring your characters to life.
- 2D physics: Unity includes a dedicated 2D physics system, designed to make your game’s movements and interactions feel natural and efficient.
What do you enjoy in a 2D game?
There are 2D games in every genre — take some time to think about the ones that you like best. Don’t just evaluate the art and physics implementation in the games; the whole experience is important to the impact on you as a player.
As you think about the games, ask yourself the following questions:
- What was it about the game that made you want to play it?
- What feature(s) of the game did you enjoy the most and why?
- Can you think of any adjustments that could make you enjoy the game even more?
There are no right or wrong answers to these questions. It’s helpful to consider them before you begin working on your own first 2D game to focus your understanding of the type of games that you might like to make.
4. What will I achieve by the end of this course?
In this course, you’ll create your own 2D adventure game. A 2D adventure game is all about exploration, interaction, and storytelling. Players typically control a character who avoids enemies, collects items, or completes objectives to progress through the game.
Course structure
This course is organized into six units:
- Player character and movement: You’ll set up a player character and configure it to move on a placeholder environment in response to player input.
- Game environment and physics: You’ll develop the environment for your game and implement basic physics so the player character can interact with it.
- Health system: You’ll create a health system and objects that will increase or decrease the player character’s health on collision.
- Characters and interaction mechanics: You’ll create enemies, add a way for the player to neutralize them.
- Game UI and game loop: You’ll create a user interface using UI Toolkit and configure it to reflect the character’s health level, you’ll also add a friendly NPC to share a message with the player and create a simple game loop.
- Enhance your game: You’ll elevate the atmosphere by implementing a dynamic camera, audio, and visual effects. We’ll also guide you through optional extra features you can add to take your game to the next level, and finally, you’ll publish your game online.
Course assets
We’ve provided three different asset packs that you can use to customize the game visuals, and there are plenty of opportunities to customize or extend the basic game functionality in small ways too.
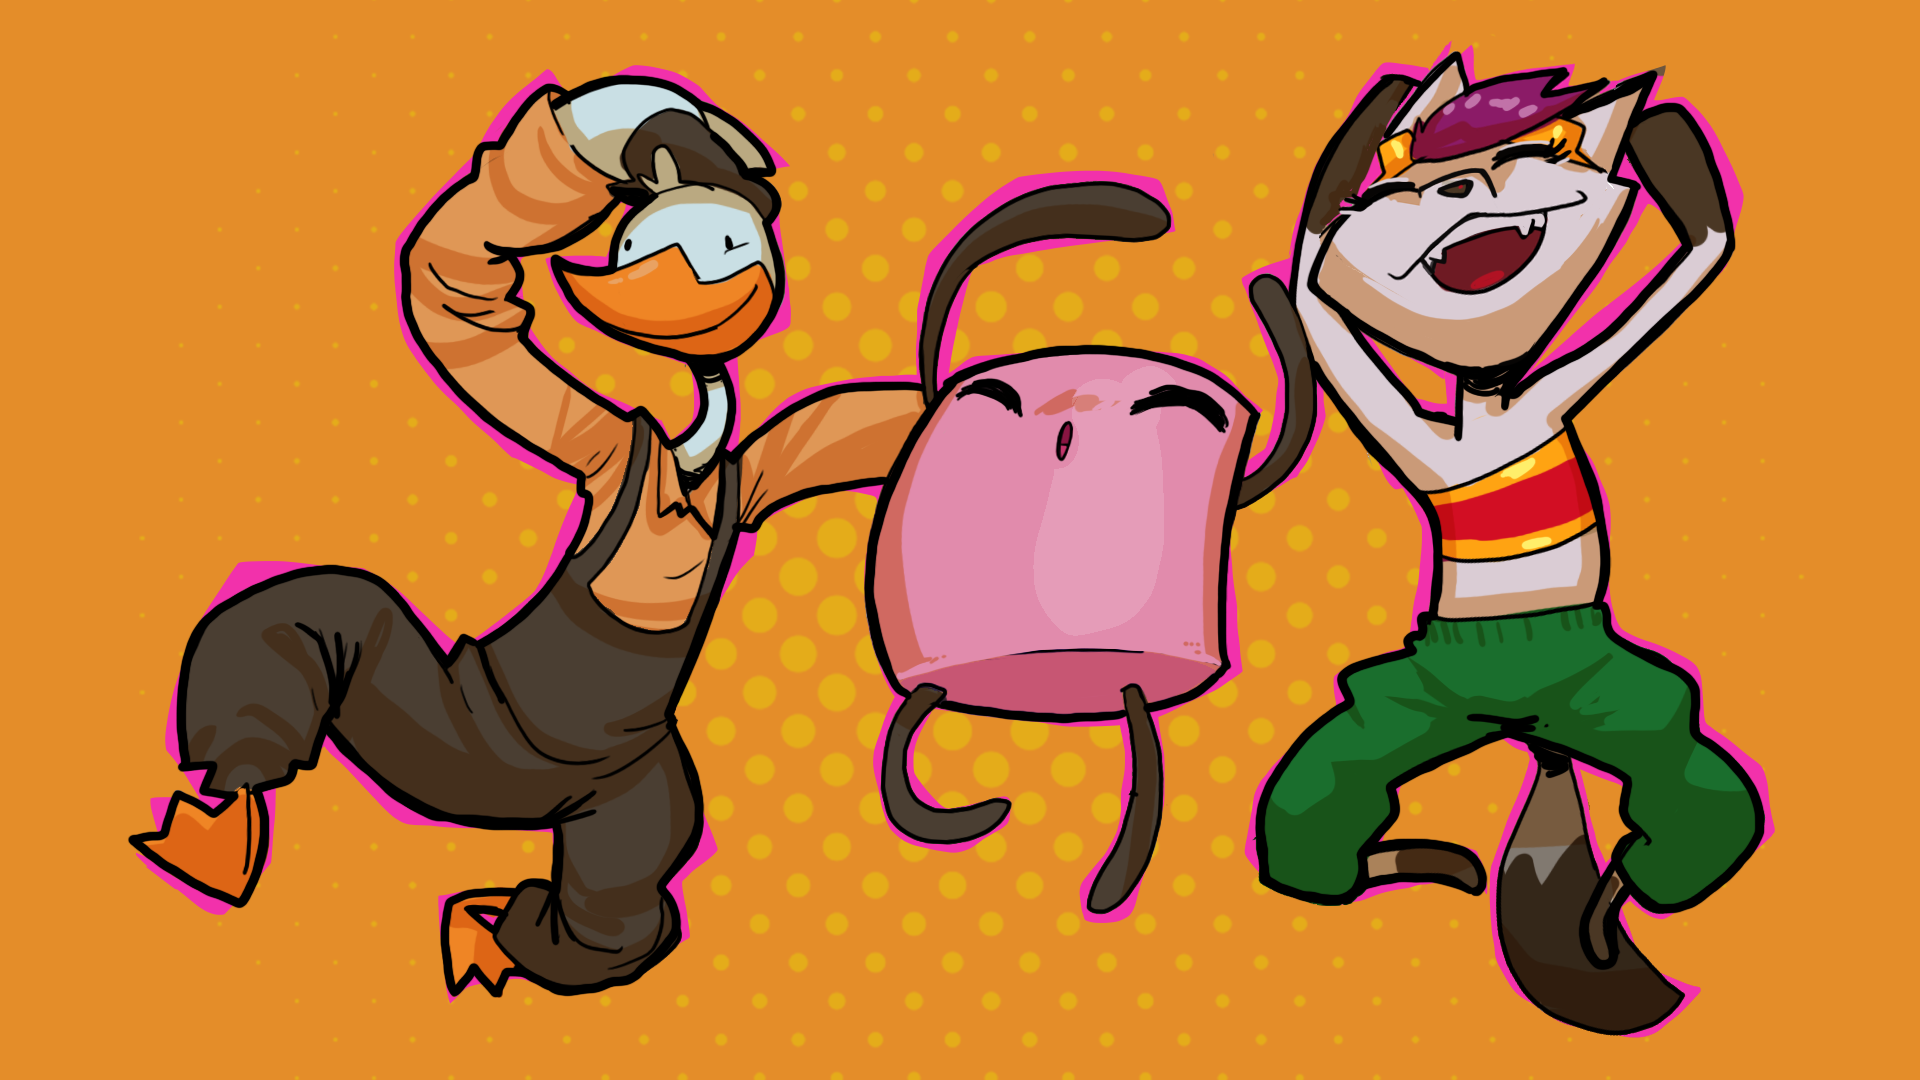
- Ruby’s Adventure: The assets for the original version of this course, with some small updates. A bright and exciting world with a curious fox protagonist.
- Sugar Land: A new sweet treat wonderland with a friendly marshmallow protagonist.
- Ducko: A new Art Deco dieselpunk world with an adventurous duck protagonist.
These assets are available on the Unity Asset Store.
Build skills to take to game jams and beyond
When you’ve finished this course, you’ll have created your own 2D game from scratch. At that point, you’ll have a great foundation to participate in game jams and collaborate with others. Game jams are a great way to build your creative community and develop your practice as a creator! If you want to get more resources to prepare for a game jam we recommend taking our Get started with game jams course.
5. Create a new project and add import the project assets
To begin creating your game, you’ll first create a new Unity project. Then you’ll download the assets we provided for you to complete this project.
Create a new project
To create a new project for this course, follow these instructions:
1. In the Unity Hub, ensure you have Unity 6 installed.
If you don’t have Unity 6 installed yet, we recommend installing it before you continue. For step-by-step guidance on how to install a new Unity version, follow these instructions on how to install a version of the Unity Editor.
2. From the Unity Hub, create a new project named “Adventure Game” using the Universal 2D template on any version of Unity 6.
If you’re not sure how to do this, follow these instructions on how to create a new project from the Unity Hub.
Download the assets from the Asset Store
We’ve provided you with all the assets you’ll need to complete this course. To download and add these assets to your project, follow these instructions:
1. In your internet browser, open the 2D Adventure Game: Robot Repair.
2. Follow these instructions to learn how to import assets to your project from the Asset Store.
Once the assets have been imported, they’ll appear in the Assets folder of the Project window. When the import process is finished, close the Package Manager window and continue to the next step.
Delete unnecessary files from your Assets folder
Everything you need to complete this project is included in the _2DAdventureGame folder. However, there are a number of other files that were generated when you created the project that aren’t necessary for this course. To remove these files from your project, follow these instructions:
1. In the Project window, inside the Assets folder, select the first item beneath the _2DAdventureGame folder.
2. Hold Shift, then select the last item in the Assets folder to multi-select all the unnecessary items.
Important: Don’t delete the Packages folder.
3. Right-click any of the selected items, then select Delete to remove them.
6. Play the example game
The example 2D adventure game scene is included in the project files for this course. To play the example game, follow these instructions:
1. In the Project window, navigate to the Assets > _2DAdventureGame > Tutorial_Demo > Demo_Scenes > Final.
There are four scenes in this folder: one for each of the three themes (Ruby, Ducko, and Candy), plus a StartScreen.
2. Double click on the Start Screen to open it. This scene is part of the extra features you can optionally add to your game. It contains a character-selection screen that lets you choose which themed level you want to play.
3. Select the Play button to enter Play mode, choose your desired theme and test the game!
Use the following controls:
- Up, Down, Left, Right arrows to move
- C to fire a projectile
- X to talk to the friendly NPC when you are close
7. Next steps
Now you’re ready to begin the 2D Beginner: Adventure Game course! In the next tutorial, you’ll begin your work in 2D by creating a player character and configuring it to move based on user input.