
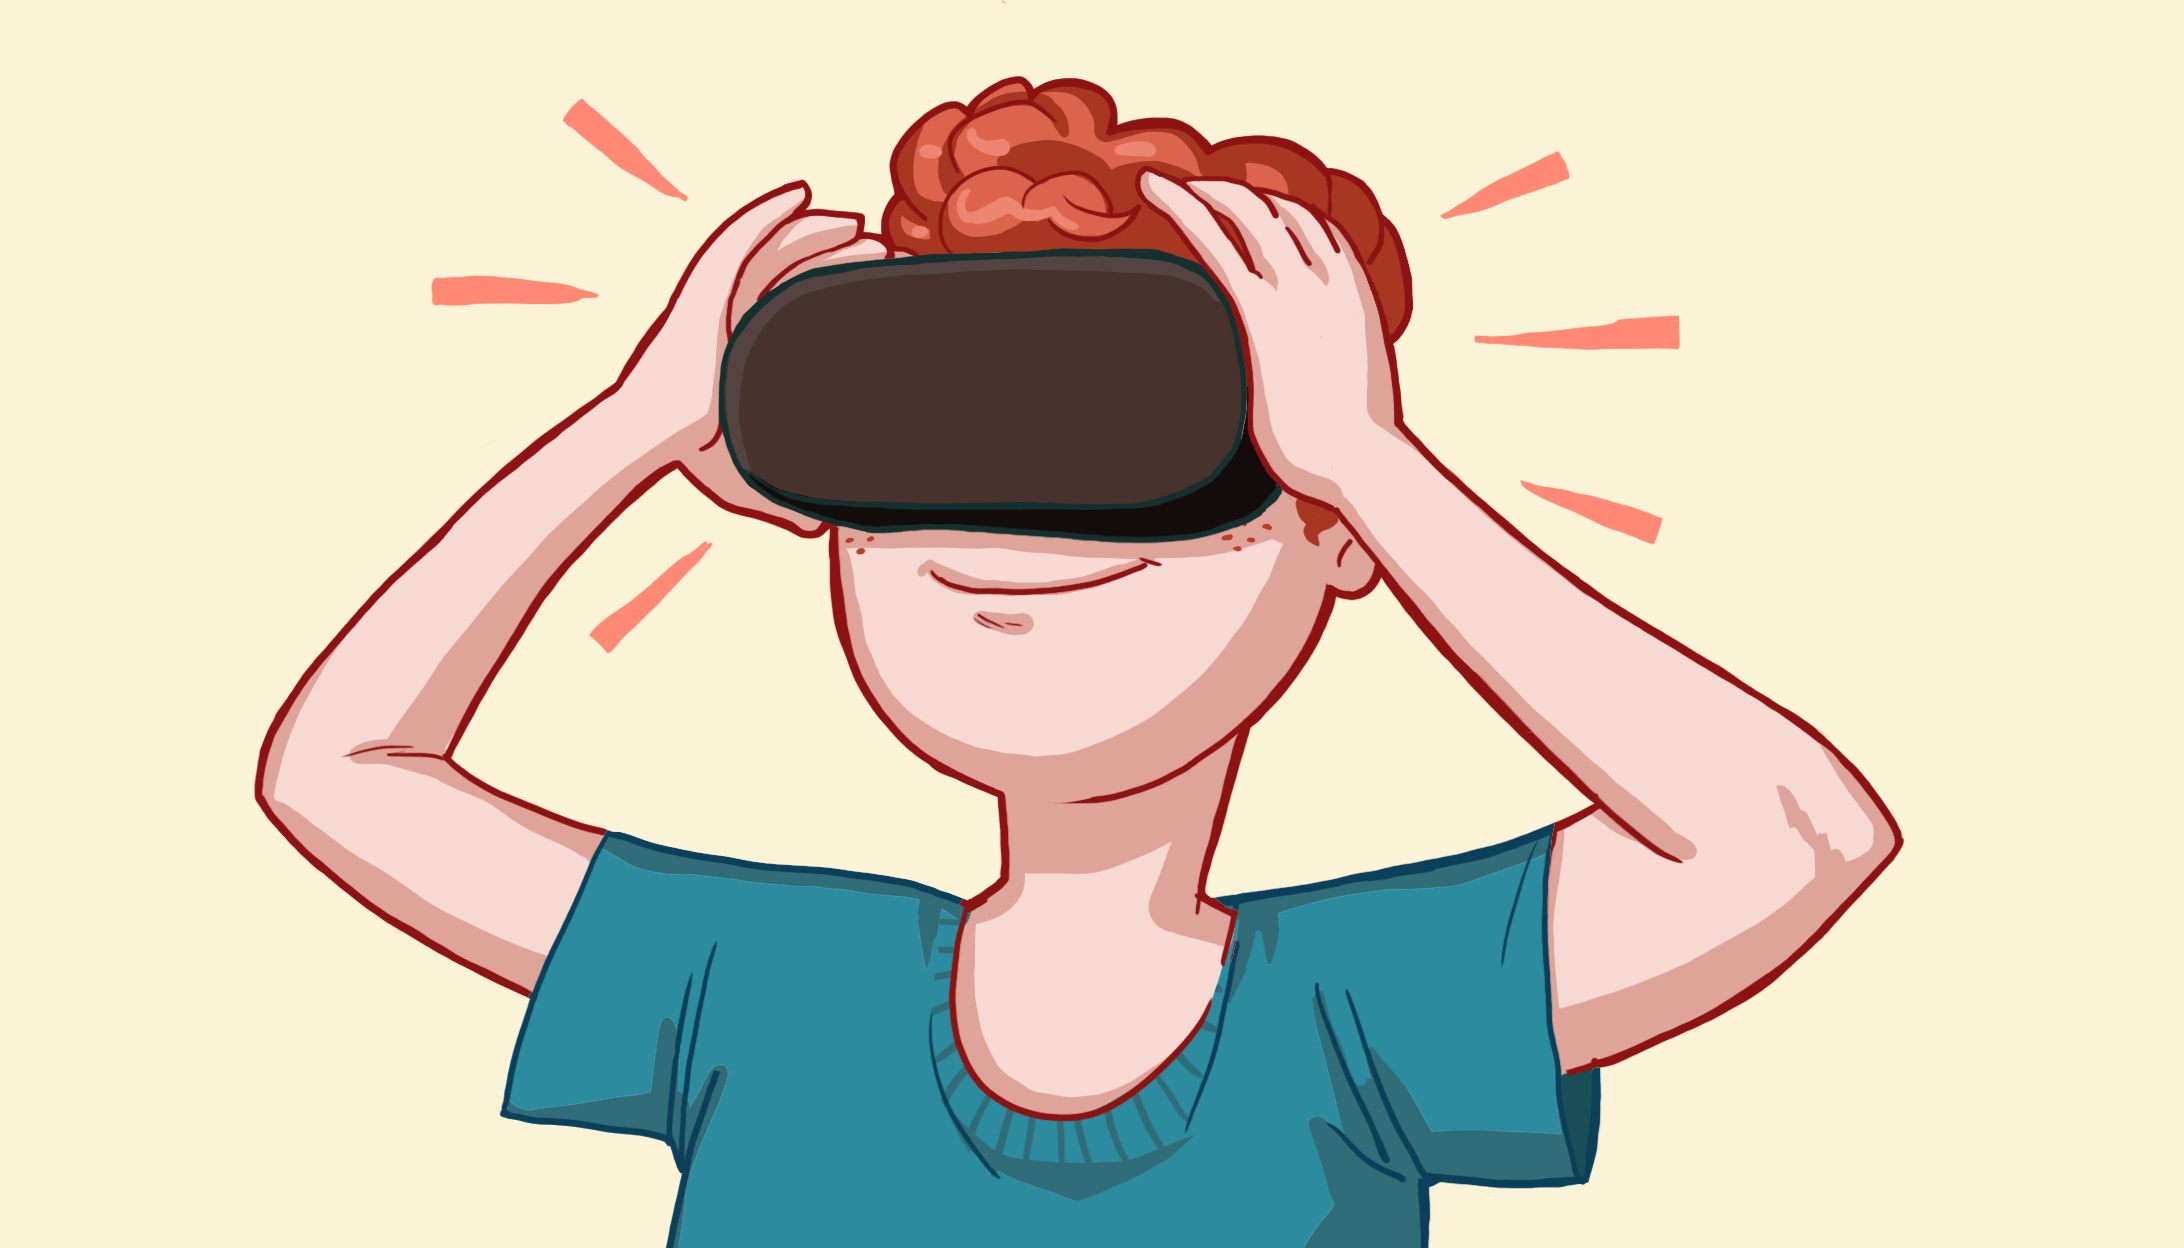
Get started with VR Beginner: The Escape Room
Tutorial
Beginner
+10XP
20m
(3350)
Unity Technologies
In this tutorial, you’ll:
- Learn about the scope of the VR Beginner project
- Download the VR Beginner Unity Project
- Review the hardware requirements for this learning project
- Review foundational Unity concepts for VR Beginner
Resources
Languages available:
1. Overview
Welcome to VR Beginner: The Escape Room! In this learning project, you’ll have the opportunity to explore and create basic VR interactions supported by the XR Interaction Toolkit package.
This learning content is for anyone who wants to begin creating VR experiences in Unity. It is designed for individual users, but with consideration for the needs of educators in a range of different environments.
This learning project has an accompanying Unity Project. This Project is preconfigured for you, so that you can explore different VR examples and create your own simple experiences. The Project includes:
- Example VR experiences to explore in two different styles
- A custom menu which you can use to create new Scenes pre-configured for VR
- Assets in a realistic art style pre-configured for VR interactions
- Additional object models which are not pre-configured for VR interactions
2. About the VR Beginner Unity Project
VR Beginner uses the XR Interaction Toolkit package as its interaction system. This means that you do not need to write scripts to create simple interactions in the Unity Project.
This learning project has been designed as introductory content for a wide range of learners. Due to the range of hardware available, design and development choices have been made to make the experience available for as many different users as possible. This resulted in challenges which sometimes required unconventional solutions!
This project has been designed as an opportunity for you to:
- Explore a VR experience
- Create interactive elements in VR without any code
- Try creating very simple interactive experiences in VR using Assets available in the Project
It’s not intended as a model of best practice VR implementation, but a first exploration experience as you start your VR learning journey.
Prerequisites
This learning project is for beginners to VR in Unity, who have basic experience using Unity Editor. You’ll get the most out of this project if you’ve already completed one of our code-free introductions to digital making in Unity:
You also should have some previous basic experience using VR to get the most out of this learning content as a learner. If you haven’t explored any VR experiences before, try the basic tutorial content created for your VR hardware.
You do not need any experience developing for VR to use this learning content.
Your VR hardware
This learning content is compatible with the following headsets:
- HTC Vive models
- Oculus Quest
- Oculus Rift models
Valve’s HTC Vive uses a software development tool called OpenVR to work (some other non-Oculus headsets also use this). The legacy method to use OpenVR in Unity has been removed, as of Unity 2020.2. This tutorial has been updated with the new OpenVR method, which you will need if you have a headset created by a non-Oculus provider.
Note: This OpenVR method will also work with Oculus headsets, but you may not be able to use Oculus-specific features if you choose to use it.
3. The structure of this learning project
This project is made up of nine different tutorials. You can complete them all at once or work through the tutorials at the pace that works best for you.
The tutorials are:
1. Get Started with VR Beginner
3. Explore the Prototype Room experience
4. Add teleporters for movement
5. Add and configure an interactable object
7. Set up your Unity Project for UI development
8. Next steps
Plan your learning journey
Tutorials one to eight are sequential, and should be completed in order.
Explore the Escape Room is standalone learning content that you can complete at any point after Review your VR controller. You’ll explore and evaluate an immersive interactive experience, and also have the opportunity to consider the kind of experience you would like to create in the future.
4. Before you begin
New to Unity?
This learning experience assumes that you are already familiar with the Unity Editor. If you’re new to Unity, the Unity Essentials learning pathway has been designed to help you get set up and ready to create in the Unity Editor.
Update the Unity Hub
Before you begin to set up your Unity project, consider updating your Unity Hub to the latest release. If you are using an older version of the Hub, there may be differences between the guidance provided and your experience.
Review the Unity Editor basics
If you need to refresh your memory of the Unity Editor basics, you can take a moment to review Explore the Unity Editor at any time.
Set up your Unity project
To set up your Unity project:
1. Open the Unity Hub.
2. Create a new Unity project using one of the Core Templates (2D or 3D). It doesn’t matter which Core Template you select; the package that you import will override the default Template settings.
3. Go to the VR Beginner: The Escape Room assets in the Unity Asset Store.
4. Download and import the assets into your Unity project.
That’s it! Now that your project is set up, you can set up and configure your VR hardware.
Note: We do not recommend downloading this project via the Unity Hub at this time. If you do so, you will need to follow some extra steps to save your project successfully.
5. Set up your VR hardware
If you haven’t already done so, you’ll need to set up your VR hardware to complete this learning project.
Your hardware manufacturer has specific guidance to help you get started:
Note: If you have an Oculus Quest, make sure to enable Development Mode for your Oculus Quest as part of device setup.
6. Configuring Unity for your Oculus Quest
If you are using an Oculus Quest with Oculus Link, you'll be able to test directly from the Unity Editor. If you are not using the Oculus Link, you’ll need to set up the Android development environment in Unity and create Android builds to test VR experiences in this learning project.
To create Android builds to test, you’ll need to switch the Build Platform to Android in the project Build Settings. You’ll be guided through this process later in this tutorial.
7. Configure your Unity XR Plugin Management Settings: Oculus headsets
Next, you need to configure the XR Plugin Management Settings.
To configure the Unity XR Plugin Management Settings:
1. In the top menu, go to Edit > Project settings...
2. In the Project Settings window sidebar, select XR Plugin Management.
3. Select the plugin that fits your target platform, e.g. Oculus for Oculus Devices, from the list of available Plug-in Providers. OpenXR will fit most other headsets.
4. If you are using an Oculus Quest without Oculus Link, you’ll need to create Android builds to test your VR experience. If there is no Android tab available here, check that you have correctly set up the Android development environment.
5. Select the Android tab, check that the Oculus Plug-in is enabled.
6. Select the Player section on the left of the dialog window, then select the Android tab. Select the grey arrow to expand the Other Settings foldout located towards the bottom of the list.
7. Disable the Auto Graphics API checkbox. This will reveal a list of Graphics APIs.
8. Select the Graphics APIs Add (+) button and select Vulkan.
9. Select any other Graphic APIs in the list, and then select Remove (-) to delete them.
Once you’ve done this:
- Configure your Build Settings, if you’re using an Oculus Quest headset
- Review key concepts for working in Unity, if you you’re using a different Oculus headset
8. Configure your Build Settings for your Oculus Quest
If you’re an Oculus Quest user, you now need to configure the Build Settings for your Oculus Quest. Other users should skip ahead to review key concepts for working in Unity Editor.
To configure the Build Settings for Oculus Quest:
1. In the top menu bar, navigate to File > Build Settings. In the Platform list at the bottom left of the window, select the correct platform for you:
- Android if you plan to run the build directly from your Quest
- PC, Mac & Linux Standalone if you plan to use Oculus Link to run your build or test in Editor
2. If you are building for Android, select Switch Platforms and wait for the task to complete. Do not worry if this takes a little while.
3. Set Texture Compression to ASTC using the drop-down menu.
Now you will be ready to build for Android with the Oculus Quest as the target device when you need to.
Note: These settings are for creating test builds for this learning content. They are not recommended settings for final builds and publishing.
9. Review key concepts for working in Unity
Let’s review some key concepts for working in Unity that will help you in this project.
Scenes
In Unity, areas of a game or experience that a player can interact with are generally made up of one or more Scenes. Small experiences may only use one Scene; large ones could have hundreds. The Escape Room and Prototype Room VR examples are both one Scene.
The VR Beginner Unity Project includes a custom menu you can use to create template Scenes for prototyping in VR.
GameObjects and components
Every object in the game world exists as a GameObject in Unity. GameObjects are given specific features by giving them different components, which provide a wide range of different functionality.
When you create a new GameObject, it comes with a Transform component already attached. This component controls the GameObject’s positional properties in the 3D (or 2D) gamespace. You need to add all other components manually in the Inspector.
10. Summary
In this tutorial, you have:
- Reviewed about the scope of the VR Beginner project
- Downloaded the VR Beginner Unity Project using Unity Hub
- Reviewed the hardware requirements for this learning project
- Reviewed foundational Unity concepts for VR Beginner
Next, you’ll review the controller for the VR Beginner experiences and then explore the Prototype Room VR experience.